hello@hyaking.com
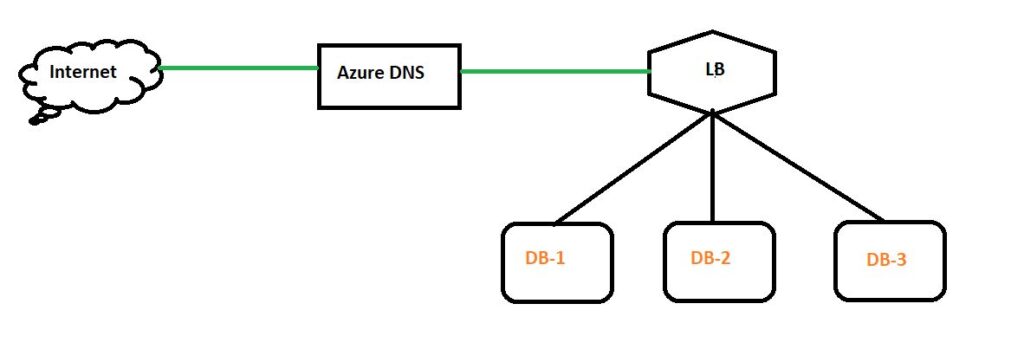
Azure Load balancer will share the load among all the webservers by using round-robin method and it will not inspect the packets.
It will use Layer 4(Transport Layer) in OSI model.
Note: It will works as AWS NLB.
Below are the OSI Layers:
We have total 7 layers.
L7 – Application Layer — AWS ALB and Azure application Gateway
L6 – Presentation Layer
L5 – Session Layer
L4 – Transport Layer — AWS NLB and Azure Load Balancer
L3 – Network Layer
L2 – Data Link layer
L1 – Physical Layer
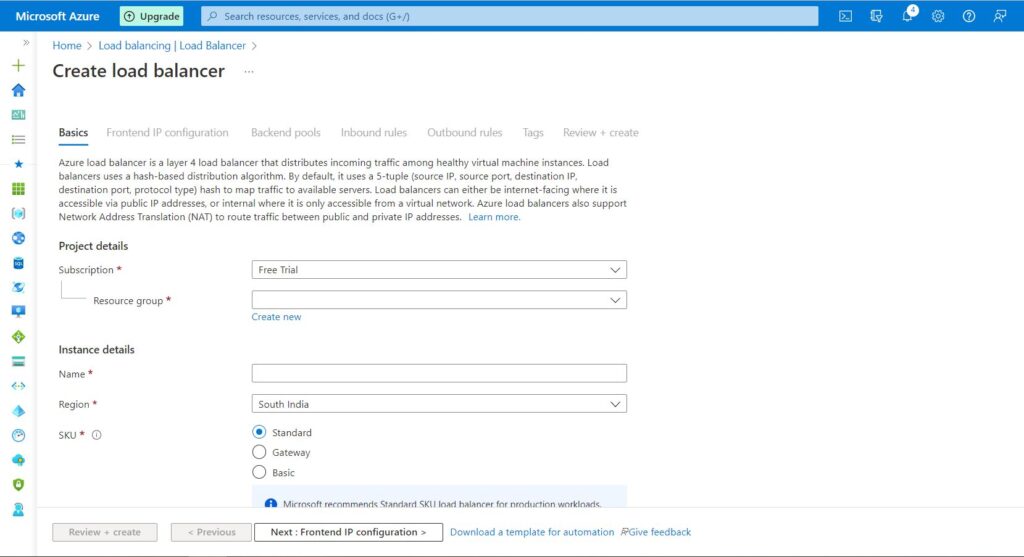
Below are the steps to create and configure the load balancer.
If any questions on creation of VM’s using bash shell then please check the below post.
Create a VM in Azure Portal
We have two types of load balancer
a. Internal — can use internal load balancers to balance traffic from private IP addresses.
b. Public — can balance traffic originating from public IP addresses.
Three types of SKU – Standard, Gateway and Basic
a. Standard Load Balancer network load balancing when extreme performance is required coupled with low latency.
b. Gateway Load Balancer to deploy, scale, and run third party appliances in Azure with ease
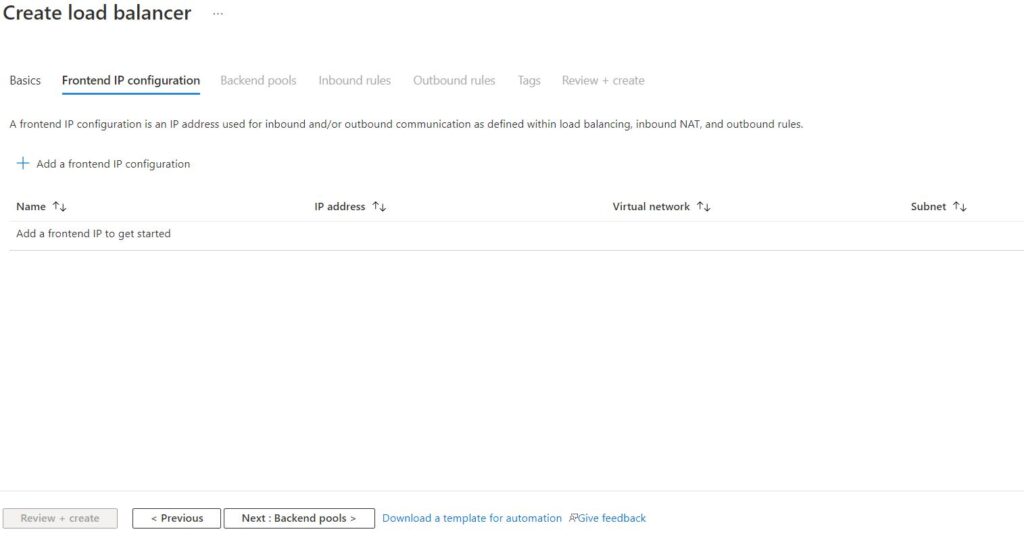
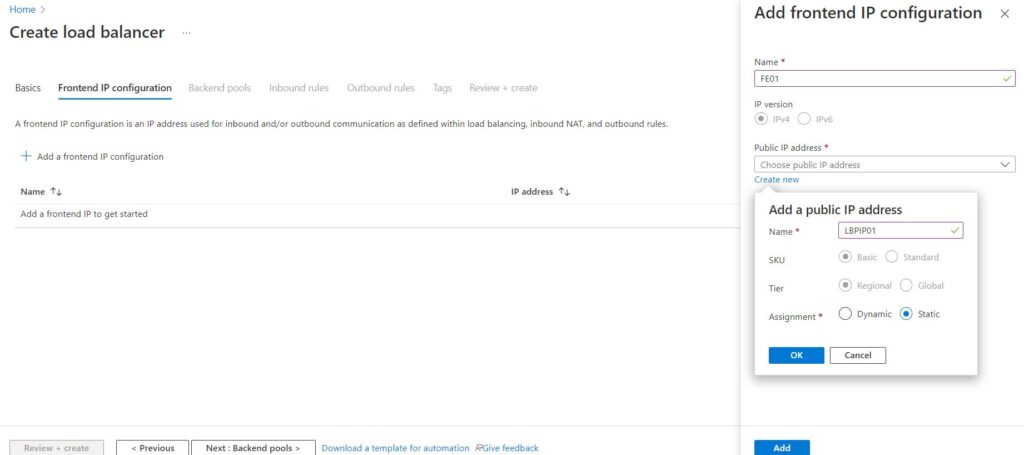
3. Add Front-end configuration and provide Public IP address (If it is not there then create new PIP as static) and click on ADD.
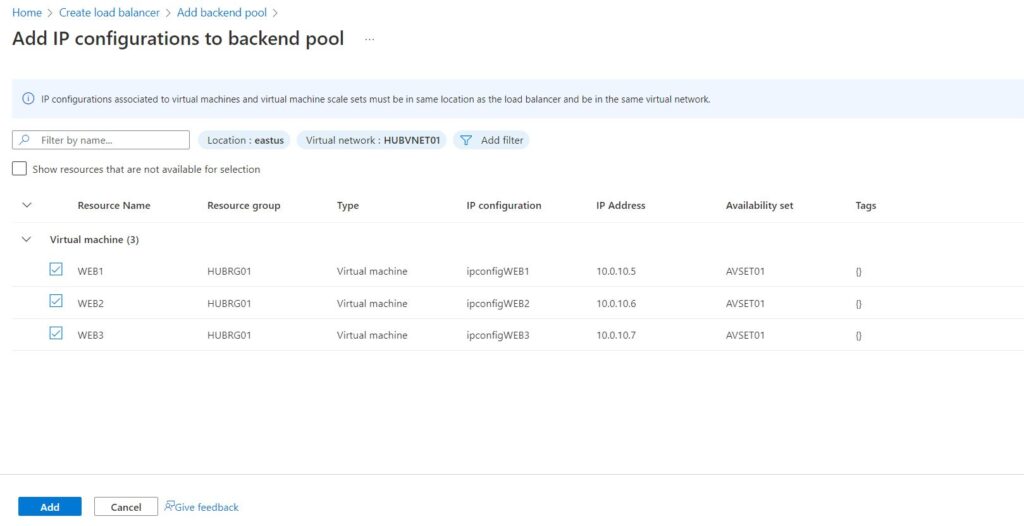
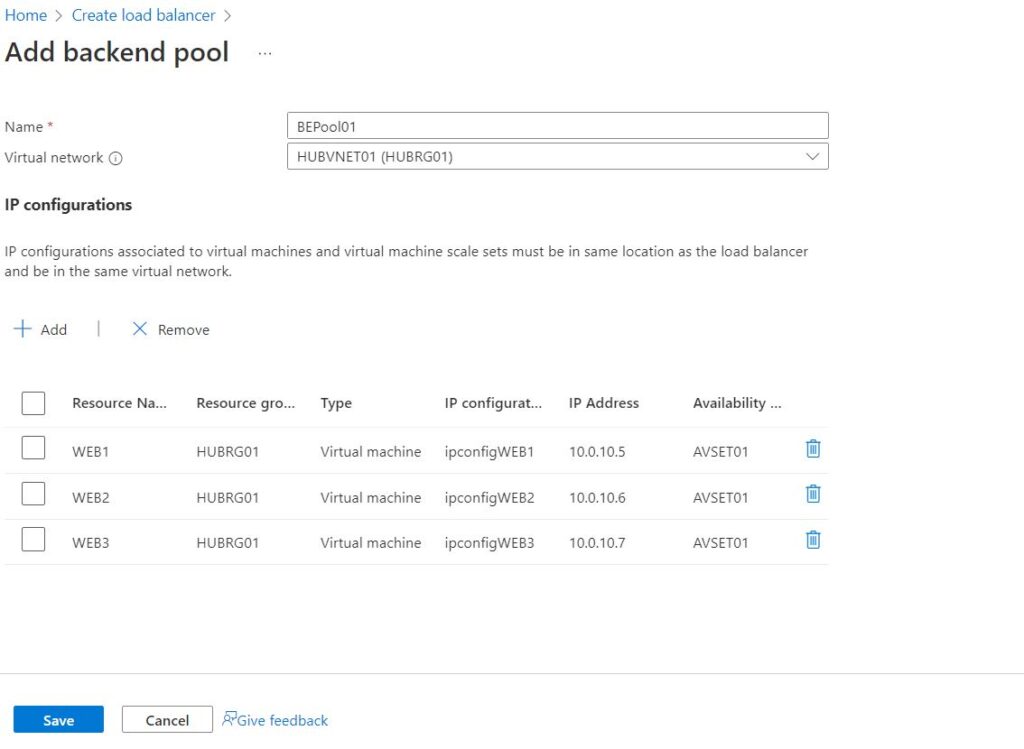
4. Click on Next: Backend Pools
Add Backend pool — Add Servers
5. Add Inbound and outbound rules / we can configure it later
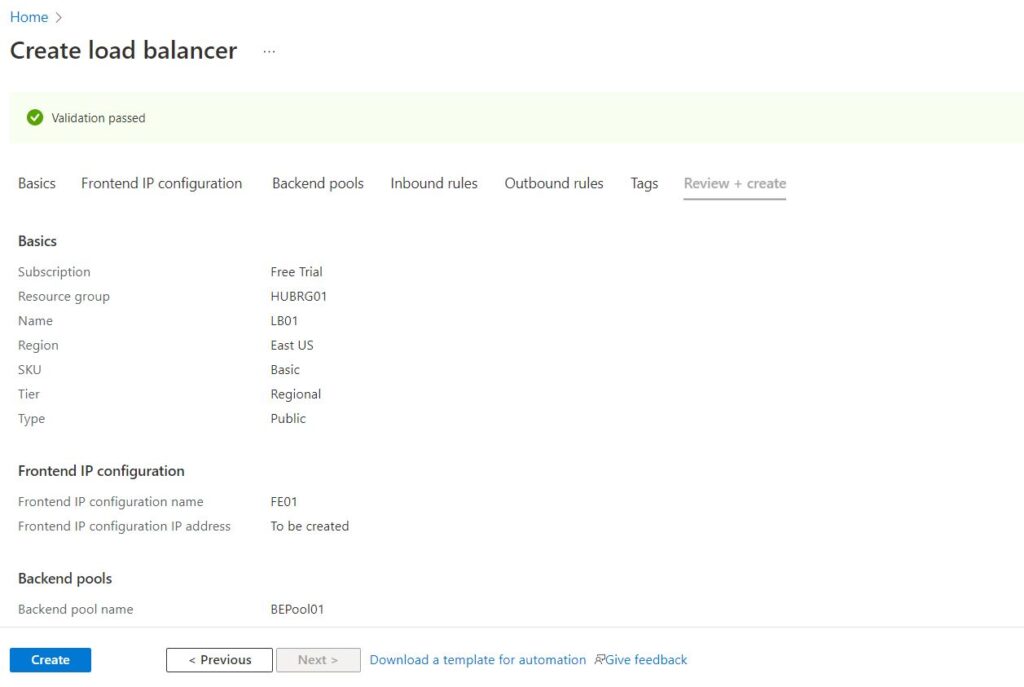
6. Create
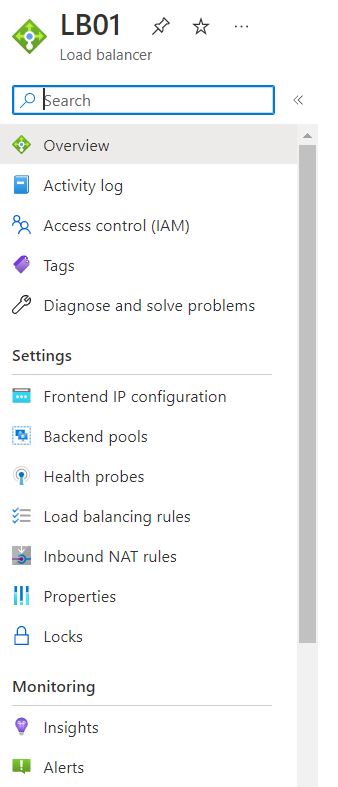
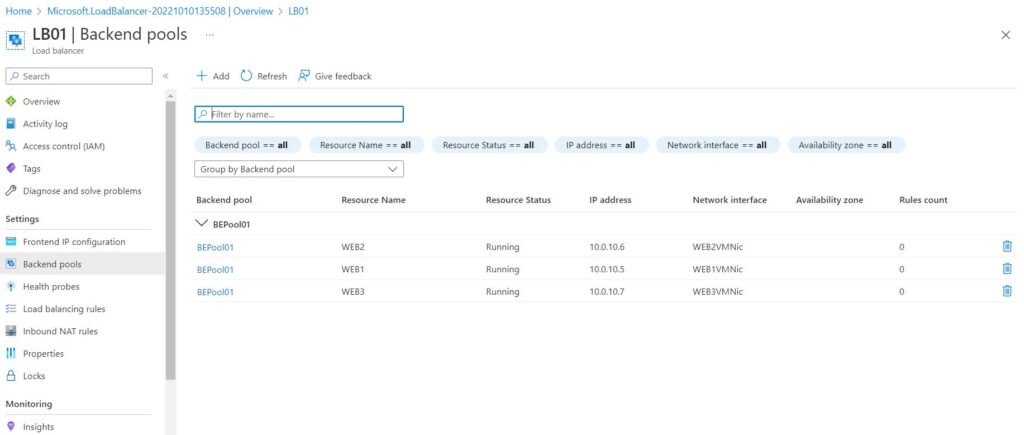
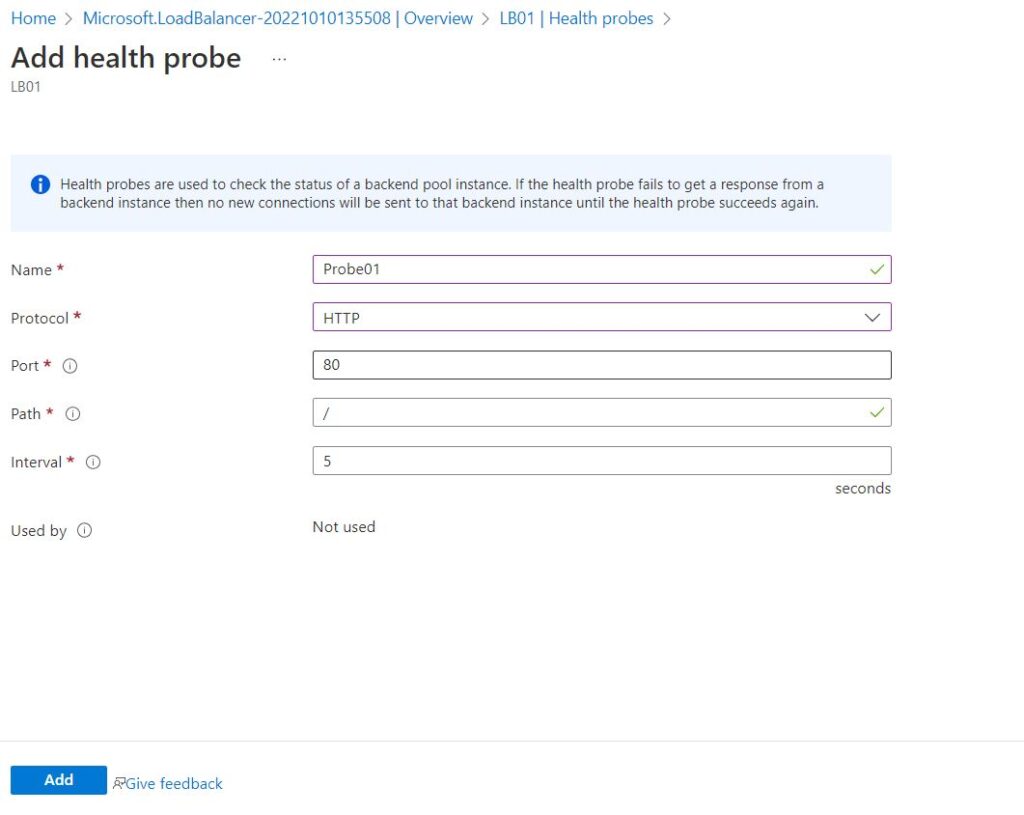
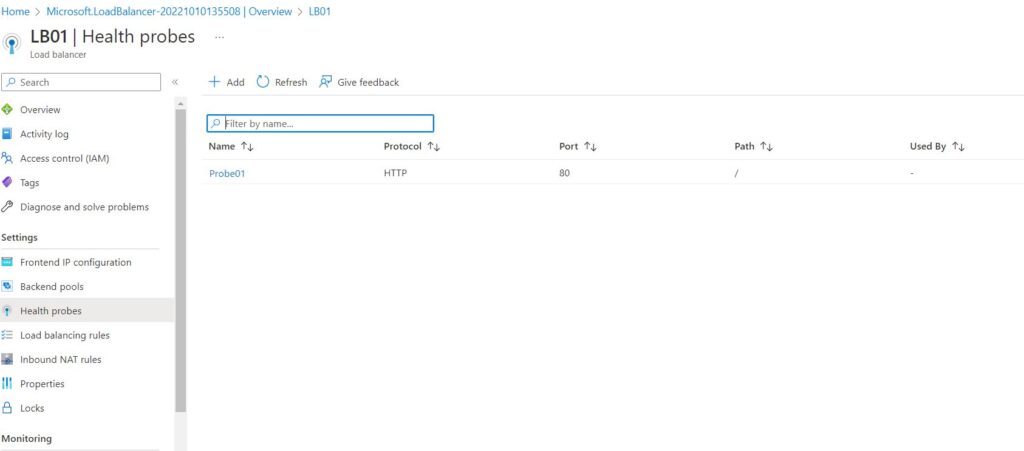
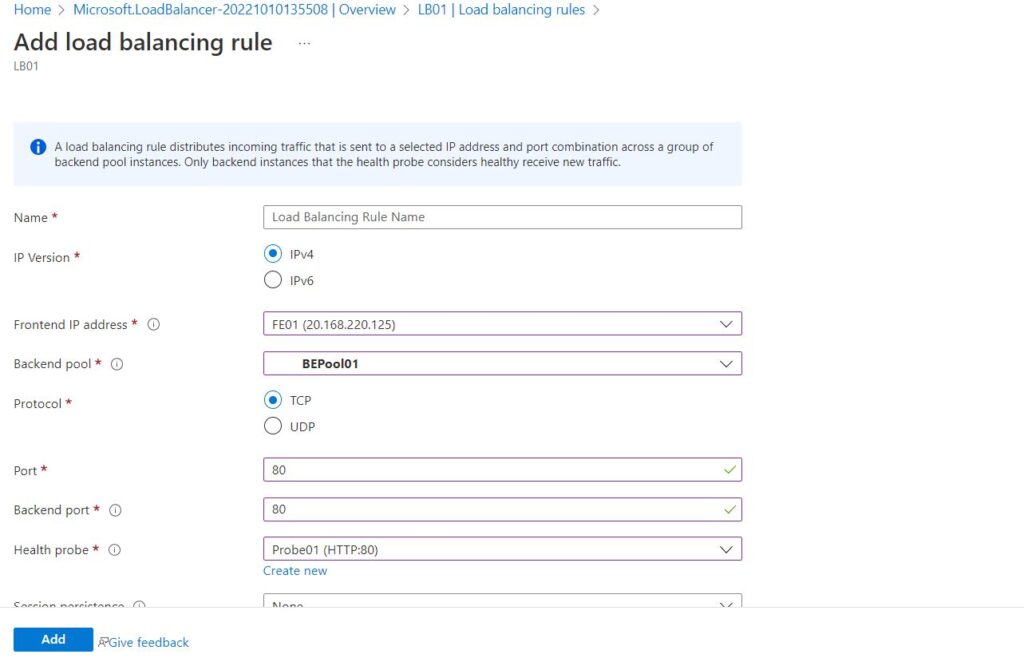
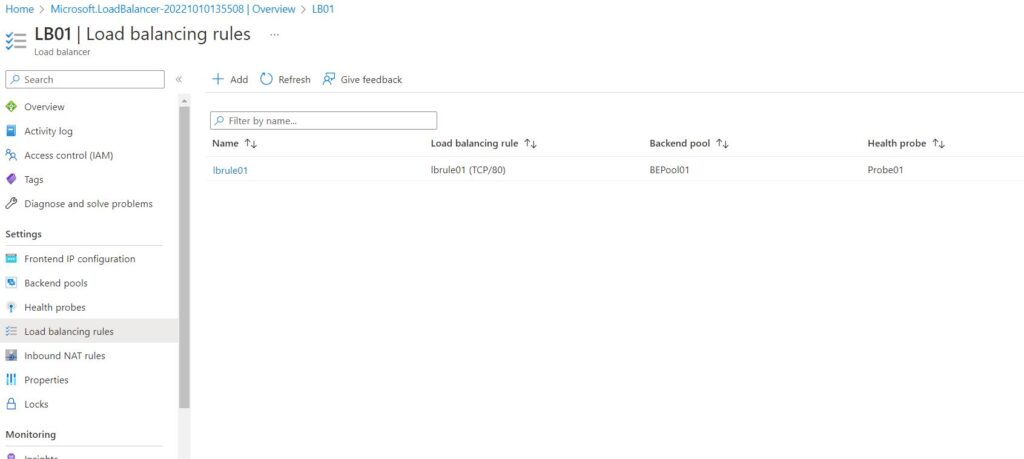
Configurations:
PS: Make sure specific rules are allowed from NSG level
If you want to open any other port then you can configure the allow NAT rule.
Create a load balancer
